DIY Cold Brew Magic Mushroom Coffee
By Jaden Rae
Disclaimer: We do not encourage illegal activity. Check with and adhere to your local laws. We do not claim psychedelics or plant medicine to be a substitute for professional medical care. Always consult with your doctor. The goal of this article is to promote safety and education.
Back in May, I taught you the simplest and cheapest way to extract the actives from magic mushrooms. We used the good old “Lemon Tek” method, which is basically soaking dried mushrooms in lemon juice and then straining out the liquid. The citric acid helps extract and transform the psilocybin to psilocin, which is what your body uses to experience the effects of magic mushrooms.
Fast forward to June, we took extraction to the next level and introduced you to a super-charged way to lemon tek, what I call “Whippit Lemon Tek.” Using a whipped cream siphon and nitrous oxide cartridges, this nifty process made the Lemon Tek process faster and stronger.
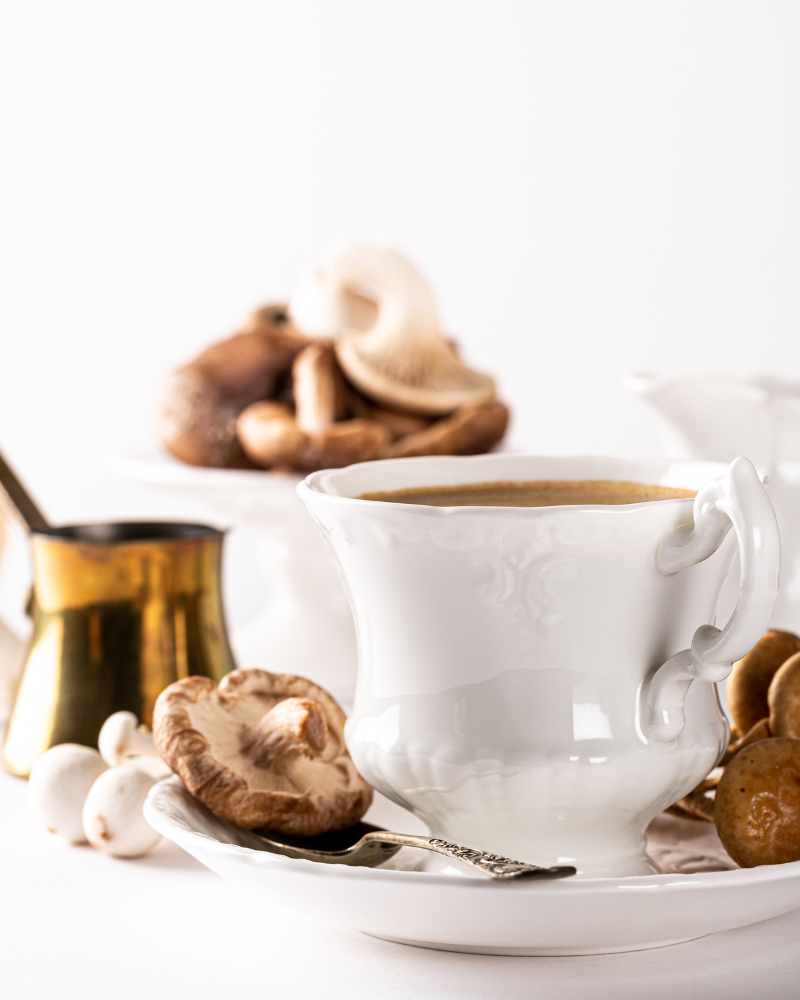
Now, we’re about to combine the magic of mushrooms with the joy of java. We’ll be brewing coffee overnight and, at the same time, extracting magic mushroom goodness. If you’re a microdosing fan, this one’s for you.
Here’s why this combo works.
Coffee and Microdosing?
If you’re a regular coffee drinker, you’re probably already having a cup every morning. So, why not add your microdose to the mix? It’s easy to remember, and if you’re like me, you can think of it as a daily wellness ritual. If you’re not into caffeine, don’t worry, you can always use decaf.
Why Cold Brew?
Cold brew is less acidic because of the cold extraction, which works great with mushrooms because too much heat can wreck their magic. Likewise, water extraction is always the best approach when working with psilocybin and psilocin because it efficiently extracts the active compounds without risking their degradation. Plus, you can store it in the fridge for up to two weeks, ensuring that you’ll have a tasty, easy, and mindful way to kick off your day.
Why Extraction?
Why bother with extraction when you could just eat raw mushrooms? For starters, who doesn’t love a tasty science experiment in their kitchen? And moreover, a smooth and robust brew is a lot more enjoyable to consume than the usual dirty sock flavored fruiting bodies of magic mushrooms.
But the main advantage? Extraction can help reduce the common nausea problem that comes with eating magic mushrooms. This digestive distress occurs because the fungal cell wall of psilocybe mushrooms is made up of chitin, and our bodies lack the chitinase enzyme required to digest it. The extraction process breaks chitin down, making it easier on your digestive system.
Why Limit Cold Brew to Microdosing?
The reason for this is pretty simple: caffeine and MACRO-doses (generally anything over 2 grams) just don’t get along very well. That’s because caffeine is what we call a psychoactive substance.
A psychoactive substance is something that has an impact on your brain function. It alters your mood, perception, consciousness, cognition, or behavior. Some other examples of psychoactive substances that you might encounter on a daily basis are nicotine (as in cigarettes) and alcohol. Even some over-the-counter medications can have psychoactive properties.
Limiting your intake to a MICRO-dose (up to 300mg of magic mushrooms), ensures that you’ll be able to achieve the benefits of magic mushrooms without overloading your system with too many psychoactive substances at once. This can lead to a more enjoyable and manageable experience.
Microdosing with caffeine is not usually an issue, especially for regular coffee-drinkers. If you are someone who microdoses to relieve anxiety, caffeine may not be your friend. I would recommend using decaf coffee for this cold brew, though it’s important to remember that decaf still contains a small amount of caffeine.
How To Make Magic Mushroom Cold Brew Coffee
Servings: 4 cups
Ingredients
- 400mg – 1200mg dried magic mushrooms (which will equal 100mg-300mg per serving)
- 1 cup coffee beans (about 115 grams), coarsely ground
- 4 cups filtered water
Equipment
- milligram scale
- large glass pitcher (that holds at least 5 cups)
- fine mesh strainer
- coffee filter or double layer of cheesecloth
Steps
- Calculate dosage:
- You need to decide how much magic mushroom goodness you want in each ounce of your coffee. Our recipe is going to whip up around 4 cups of coffee.
- When it comes to microdosing, you’re looking at around 100mg-300mg per cup of coffee. Since we’re brewing 4 cups, you’re going to need between 400mg and 1200mg of dried magic mushrooms in total.
- To get your measurements spot on, you’re going to need a milligram scale. You can grab one on Amazon for about $15. Look for one that has a protective cover and comes with a calibration weight. That way, you know you’re getting accurate measurements every time.
- Grind, baby, grind!
- You’re going to want to go with a coarse grind your coffee beans. This will ensure it filters easier and you don’t get gritty coffee. Pre-ground coffee in bags just won’t cut it—it’s too fine. Instead, get yourself some whole beans and grind them on the spot at the supermarket. Choose the coarsest grind setting, which is usually the one marked for a French press. For our recipe, you’ll need a ratio of 1 cup of ground coffee to 4 cups of water.
- As for the magic mushrooms, you’re going to want to give them a coarse grind as well. The best way to do this is to just pulse a few times in a small spice or coffee grinder. If you don’t have one, a pair of sharp shears or a large, hefty chef’s knife will do the job. Just remember, the finer you grind the mushrooms, the harder they’ll be to strain later on.
- Mix & steep
- Find yourself a large glass pitcher and toss in your ground coffee and ground magic mushrooms. Next, pour in your cold, filtered water. Slap on a lid and let that pitcher sit on your counter for about 12 hours.
- Glass is the best material for your pitcher because it’s non-reactive. That means it won’t interfere with the flavors or the extraction process.
- If you’re hanging around while it’s steeping, feel free to give it a stir or shake every now and then. It’s not a must, but it can help things along. Other than that, just sit back and let the magic happen!
- Strain
- For this, you’ll need a fine mesh strainer lined with either a double layer of cheesecloth or a coffee filter. Pour your steeped mixture through this setup to separate the solids from the liquid. We’ll do this in batches.
- Press down on the solids with the back of a large spoon or just give it a good squeeze. You want to make sure you’re getting as much of the liquid out of those grounds as possible.
- Once you’ve done that, discard the solids. Repeat this process a few times to make sure you’ve got all the liquid. And remember, don’t try to do it all at once. Doing this in batches will make it much easier and less messy. Just take it slow and steady, and you’ll end up with a beautiful brew in no time!
- Store
- First things first, make sure you clearly label your concoction. You need to indicate what it is (like, “Hey Mom, don’t drink my coffee”), the dosage per serving, and the date. It’s crucial that everyone knows what’s in the jar. Trust me, you don’t want to accidentally dose someone.
- Once it’s properly labeled, you can store it in the fridge. Your brew will keep for up to 2 weeks when refrigerated. Stir well before serving.
- Remember to store it in a glass container, something like a quart-sized mason jar would be perfect. And that’s it, you’re all done! Now you have a delicious, ready-to-drink magic mushroom cold brew. Enjoy responsibly!
About the Author:
Jaden Rae is a Las Vegas resident and best-selling author of the Microdosing Guide And Journal. She hosts a free online community at MagicandGlow.com and provides tools to enhance emotional well-being, find meaning, create magic, nourish souls and enrich lives. Jaden has been featured on the Today Show, The Early Show, Martha Stewart Radio, Fox Business News and more. You can find her on Instagram @magicandglowco.

